This is the next to last hardware upgrade for this system. This past week I installed a new CPU cooler, and a new power supply.
[In case you’re curious, the next upgrade for this machine will be to pickup another pair of WD 640GB drives and combine with the existing two WD 640GB drives in a RAID 10 setup. That will be the last upgrade for this machine since there won’t be any way to get it appreciably faster without changing to an entirely new platform based around Intel’s new Nehalem architecture. I’m waiting for the drives to fall to somewhere around the $50 mark before I jump.]
First, the power supply.
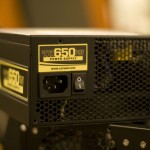
Not much to say here. I replaced a fairly solid OCZ StealthXtreme 600w model with a new Corsair 650TX. I did it for better efficiency, the Corsair is 80 PLUS certified while the OCZ is in the high 70s. And also to give me enough power for a future set of upgrades. Also at the overclock I was running I wanted to make extra sure I was getting nice clean power. I don’t want to knock the OCZ in any way, but the Corsair just has a much better reputation.
I actually ordered this thing months ago and only just now got to install it. It looks good in the case, as it has a dark gray shell trimmed with bright yellow and black stickers.
And now… The CPU cooler.
Why did I change the CPU Cooler? Well the Zalman 9700 that was previously installed just wasn’t getting it done as far as temperatures. While the machine was overclocked to 4Ghz (4.05Ghz if we’re being picky) the idle temperatures were sitting in the mid 30’s (Celsius). That’s not too bad, but when put under full load they rocketed up to almost 70c. This isn’t a level that is dangerous for the chip (at least not right away), but it’s beyond my comfort level. So I had started to clock my machine lower to keep the temps down, which wasn’t an option i was particularly pleased with considering the considerable care I had taken in choosing the parts I had to get as much performance as possible.
Basically, I felt a little like I wasn’t getting everything I had expected from the hardware. Before I put everything together, I would have been ecstatic at reaching 4Ghz. But once i saw how *easy* it was to get to 4Ghz, and even a little bit more, I was a little disappointed that I had to hold the machine back in order to keep the temps down.
My wants and needs were pretty minimal. I needed “better” cooling so that I could either a) overclock my CPU higher than it is at the same temperature, or b) get cooler temperatures at the same speed.
I also did NOT want to lap either the CPU or the cooler. Lapping involves sanding down the CPU and/or cooler to level the contact surfaces (they aren’t always flat) or to remove the nickel plating and expose copper which has better thermal characterisitics. The TRUE is famous for “needing” to be lapped in order to get the best temps.
I also wanted to keep the cost down, but I didn’t want to get a “cheap” cooler, because in that case I may as well have just kept the one I have.
It had to be quiet. My system is really quiet right now, and I want to keep it that way. The days when it was cool to have a jet engine on your desk because that meant it “must be fast!” are long gone. The most I’m willing to put up with is a quiet whoosh. So the cooler can’t add appreciably to that noise, and if it’s quieter thats even better.
Lastly, I was hoping to have a good looking cooler. The Zalman, is really attractive, IMO. Since I have a side window in my case, I do like looking at it sometimes. The Zalman’s flower design with the blue LEDs looked really good. But, at the end of the day function trumps form.
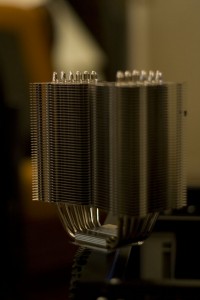
So the search for a new cooler began (my forum thread over at AnandTech). The consensus seemed to be the Prolimatech Megahalems. Which has to be the goofiest name ever. But, hey, as long as it works… Apparently, some former employees who worked on the Thermalright TRUE put this one together. And you can see a lot of the similarities.
So did it work?
Uh. YES.
Idle temps came down to the very low 30s, usually around 31-32c. And the load temps up to the mi-high 50s. So about 5 or 6 degrees cooler at idle and 10-12 degrees cooler at full load. Honestly, a fully loaded chip at 57c looks waaaaaaay better than one at 67c. The fan is dead silent at it’s lowest RPM setting and I can barely hear it at full blast. Way to go Scythe.
After the break, check out the images.
On to the pics of the cooler and the install. Click on any of the images to see a larger version.
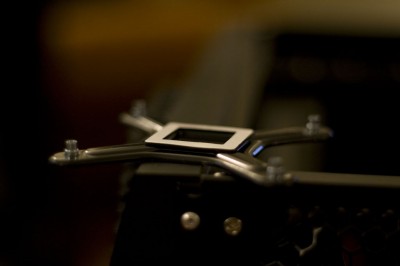
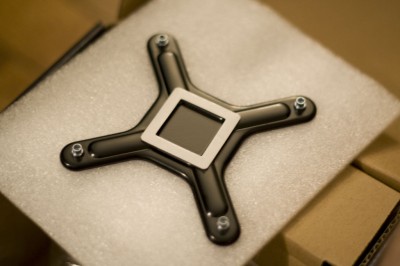
The Prolimatech Megahalems comes with backplates for both socket 775 and the i7’s socket 1366. Basically, the backplate goes underneath your motherboard and you screw it in place. The double threaded screws (is that the proper term?) then also hold the mounting brackets. Finally, the cooler is held in place by a crossbar that attaches to the mounting brackets. It sounds complex, but really it isn’t. Total time to install was maybe 10-15 minutes.
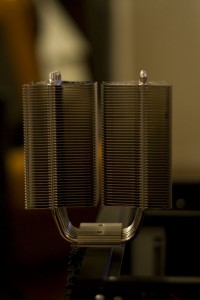
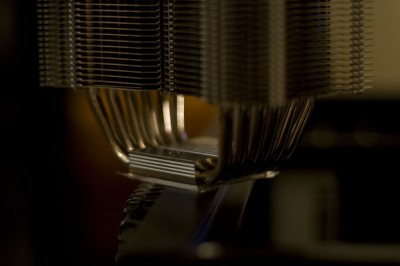
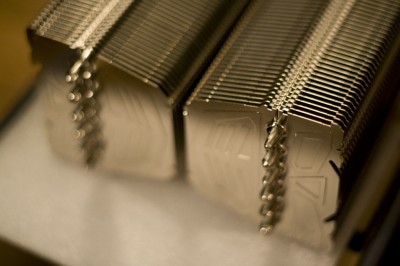
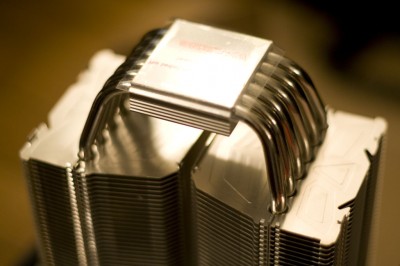
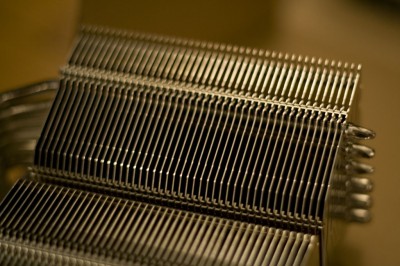
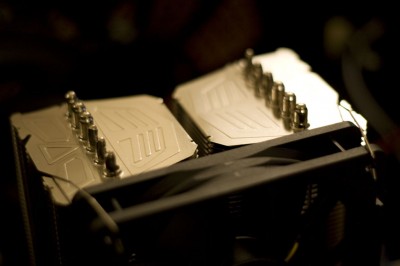
Looks a lot like the Thermalright TRUE doesn’t it?
The cooling fins are spaced pretty closely together, but they do have a gap right down the center. I assume this is to assist in airflow.
Before you ask… Yes, I made sure to take the protective tape off of the contact surface before applying.
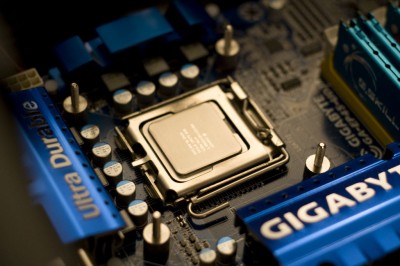
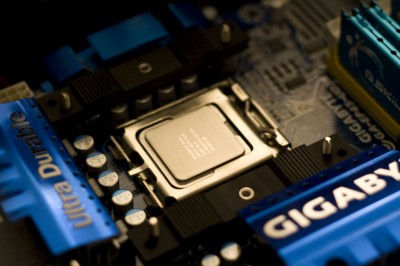
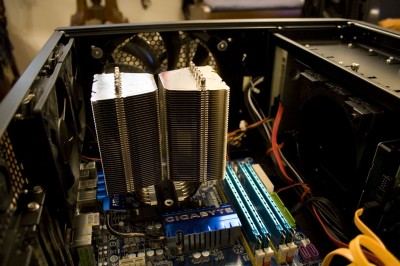
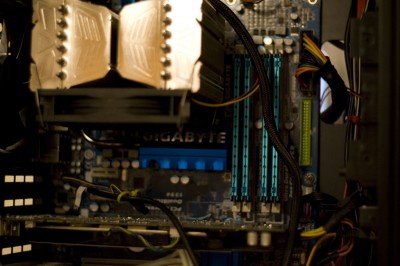
Here you can see the CPU and the double threaded screws in place. The backplate is underneath and is held by one side of the double threaded screws, while the other side will hold the mounting brackets in place. I was initially a little concerned that the motherboard’s large heatsinks would be in the way, but they aren’t. The Gigabyte GA-EP45-UD3R’s heatsinks are the blue things on the bottom-right (northbridge), bottom-left (power phase) and top (more power?). The top-right is some G.Skill memory.
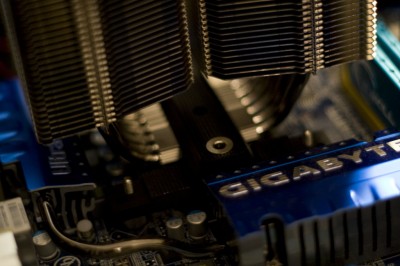
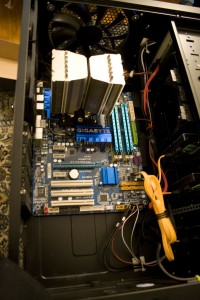
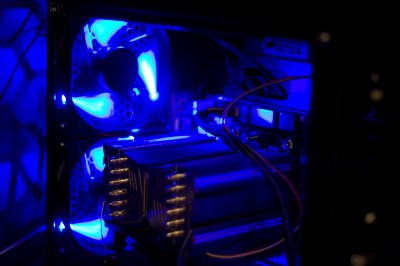
I took this next image after assembling everything, but not screwing it in place yet. I have it turned so that the exhaust goes “up” and out of the case, not through the rear exhaust like you normally might. I chose this orientation so it would blow towards the larger 200mm fan at the top of my case, which, even when I turn that one on to a higher speed, is not very loud. You can see there is plenty of room for clearance around the cooler.
Next, the fan was installed. I chose the Scythe S-FLEX “F” 120mm fan. I am extremely happy with this choice. The debate for me was between the D, E, F, and G variants of this fan. The letters correspond to the speed and noise rating. The bigger letter means it is faster, but noisier. The G I heard was too loud and D didn’t push enough air. So then between the E and F I decided I would go with the F since that had a higher potential airflow and if necessary I would just turn down the speed (hopefully). I didn’t want to get caught in a situation where I needed more airflow than the fan could provide, hence the one with more airflow. I think my concerns were unwarranted though.
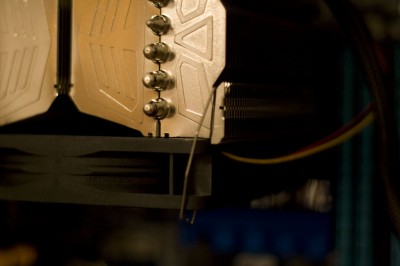
The fan bracket was really easy. It just popped into place. I’ve set it up to “push” through the heatsink. It would have been interesting if they included a second set or brackets to make a push/pull configuration, but at least in my case that wasn’t necessary.
Some gorgeous photographs and a great write-up. Nice!