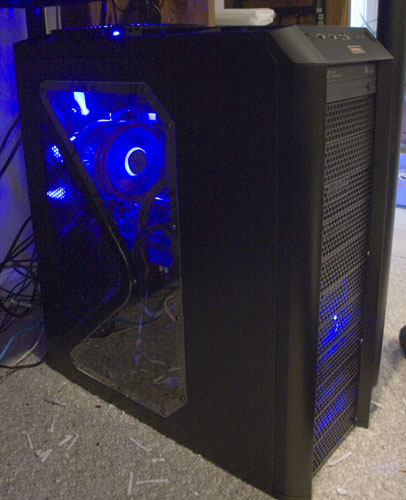
 As I mentioned previously in this post, I made some upgraydes to my main work desktop. A newer quad core that runs cooler and faster, new motherboard, and a new case.
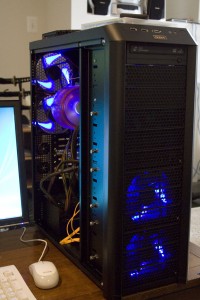
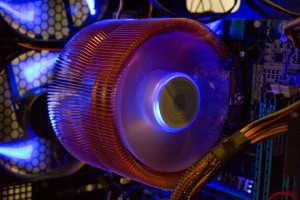
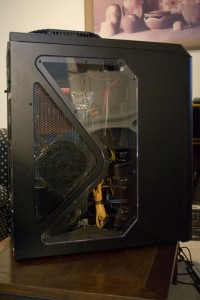
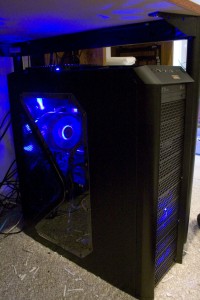
Pictured to the right is the new computer, code-named “Uriel”. What is Uriel? Well, Uriel is the name of one of the arkangels (I know somebody who always wondered about that). The case is an Antec Twelve Hundred. I chose it for it’s size, lots of room for hard drives, plenty of quiet cooling with nice big fans in the front and rear. 3 120mm fans in the front, 2 120mm fans in the rear and one 200mm fan on top. All the fans are LED lit, which at some point in the future I may decide annoys me and I’ll figure out a way to turn them off or replace them. The blue LEDs match the ones on the Zalman 9700 CPU cooler on the inside.
I really like the matte black look. Most cases just leave an unpainted metal finish on the inside, but this one has a finished black interior. With the clear side panel it looks very nice. The *bright* colors on the Gigabyte motherboard, the copper Zalman cooler, and the blue G.Skill RAM all fit together nicely against the matte black interior.
This is also the first case I’ve owned that has the power supply on the bottom. Let me tell you… before you get a case like this be SURE, really SURE that the cables will reach to the top. As it was, my power supply just *barely* made it to the top of the motherboard for the 12v power connection. For a minute I was quite scared I’d have to get another one.
I’m a big believer in spending some bucks on certain pieces of a computer. The case is one of them. A good case will last you through several computer builds. My last case saw 3 different CPUs, 2 motherboards, 3 video cards, 2 power supplies, and a multitude of hard drives and RAM configurations. It is in fact still quite serviceable, I only changed it because it has 80mm fans which are noisy and I wanted the quiet of 120mm fans. It used to be cool to have the loudest computer on the block, which meant you *must* have a really fast machine. Not anymore. I want as much power as I can get, but I want it *quiet* as can be. I think this case more than gets the job done in that regard.
Click the link below to continue reading. I’ll go over the assembly and have lots more images. In a separate post I’ll detail my attempts to overclock past 4Ghz.
All in all, the construction was fairly easy. This case has plenty of room, not just in the number of slots for hard drives (9 of them) but just in overall “roominess”. I never had to try to squeeze anything in, it was all quite easy to work with.
Click the image to see a larger view.
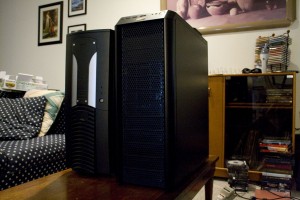
Here is a comparison of my old case on the left with the new Antec Twelve Hundred. The Antec is a little taller and a little longer front to back. The width is about the same. I like the fact that I don’t have to open the door to access the power switch or DVD drive as I did on the old one.
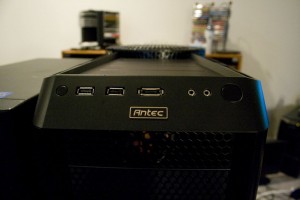
Easy access to 2 USB ports, an eSATA port, headphones & mic. Power and reset are here too. Since most tower cases end up on the floor, I’m a bit surprised that there aren’t more cases with the plugs on top. Most of them still have USB ports on the bottom, I assume that they are assuming you’ll put it on your desk? I dunno. But USB ports on top was a factor in my choice. You can see off in the distance the grille of the top 200mm fan that blows air up and out of the case.
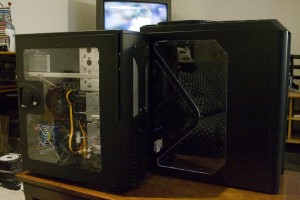
A side view of the two cases. This is before I took out some of the components from the old case (left) into the new case (right). You can see the unfinished metal in the old case, which is how most cases are. The new case has a finished matte black paint inside. Very snazzy.
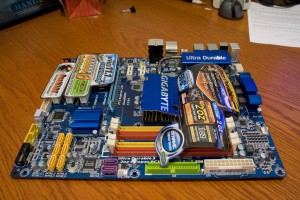
I love how many stickers Gigabyte puts all over their boards. There are at least 4 in this image. If you care to look about the board, under the stickers you’ll see the huge northbridge heatsink which connects to the power phase heastsink. The southbridge heatsink is off to the left, significantly smaller since that doesn’t ever really get that hot. 4 DIMM slots for up to 8GB of RAM, 8 SATA ports (6 Intel, 2 Gigabyte), etc, etc, etc.
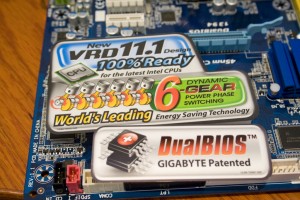
A close up of a pair of the stickers. Those 6 phases of power help this board overclock quad cores as well as it does. And if you install some software in your OS, it will dynamically control those phases and power off ones you don’t use to conserve energy. Or so the brochure says… I don’t know since all energy saving tricks are turned off once I start overclocking. The dual BIOS lets you save two sets of BIOS settings and you can boot into either one (I haven’t figured that part out yet). I don’t know what the actual intent was for this feature, but I’d like to use it to have 2 overclocks. One higher for winter use, and another lower one for summer use.
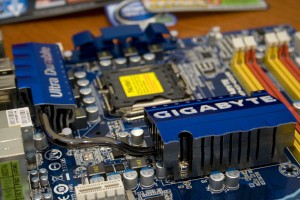
To the right with “GIGABYTE” written on it is the northbridge heatsink. It’s big. Real big. Connected by a heatpipe to the power phase heatsink. The northbridge connects the CPU to everything in the computer. So as you overclock and increase the frequency of the Front Side Bus, this thing gets VERY hot. The heatsink helps keep the temperature down. While running this gets uncomfortably warm to the touch, but not burning. So thats good :)
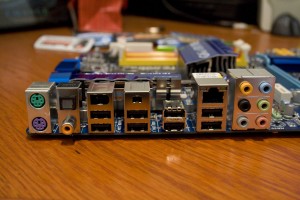
The rear I/O panel. PS/2 style inputs for keyboard & mouse, 8 USB ports, a firewire port, what I think is an iLink port, gigabit ethernet, 6 channel audio, and both optical and coaxial digital outputs (for surround sound).
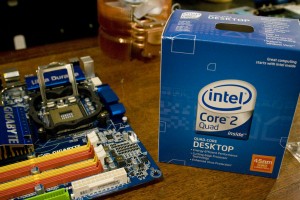
The gorgeous Intel Core 2 Quad Q9650, in it’s box. Next to the GA-EP45-UD3R motherboard. I’ve already screwed on the bracket to hold the Zalman 9700 CPU cooler (it’s the black ring around the CPU socket).
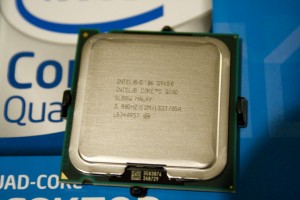
A close up of the Q9650.
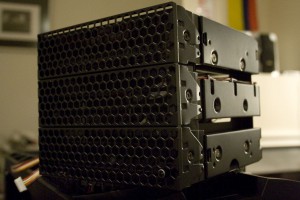
Now the fun begins. Here is the hard drive cage. These cages are fantastic, with a semi-toolless design. The grille on the left of the image is the front of the computer. There are 3 cages, each holding 3 drives for a total of up to 9 drives. Just behind the grille is a 120mm fan with blue LEDs. In the bottom right corner is a twist knob which controls the speed of the fan. Very nicely done. And the fans are very quiet to boot. I was considering purchasing very quiet fans to replace these, but I decided to wait and see if they needed it. I’m glad I did, because they really didn’t need it.
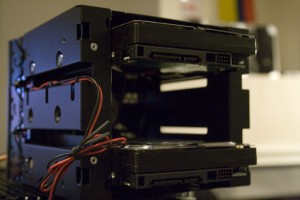
Here is the back of the hard drive cage. As you can see, I’ve already got 2 drives installed (I think these are my 640GBs). There is room for a third drive, with a small gap in between each drive for airflow from the front mounted 120mm fan. The red & black cables are the power for the fan. Each drive screws into place like normal, which is why I call it “semi” toolless. But the whole cage slides into place and is held by thumbscrews.
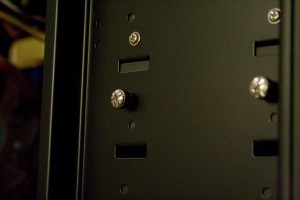
The thumbscrews that hold the hard drive cages in place. I love the look of it.
Here I’ve got just about everything installed, but not yet connected. You can see the two rear exhaust fans, and the top exhaust fan. These are controled by a low-med-hi switch. Low is pretty low, but not as low (read quiet) as I’d like. Power supply is on the bottom. I could only *barely* reach the top of the motherboard.
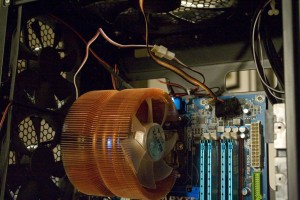
A closeup of the Zalman 9700.
All the cables attached… Cables. Everywhere.
Inital boot up and installing Vista. Looks real purty don’t it? The fan in the 3rd hard drive cage is not connected yet. I left it unplugged since only the bottom two cages had drives in them. However, I later plugged it in since that fan conveniently pushes air across the RAM and northbridge heatsink.
LEDs! Arg my eyes! JK. I’m attracted to shiny things, what can I say?
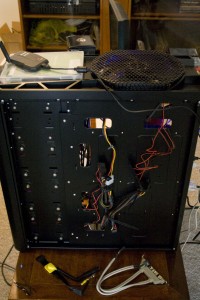
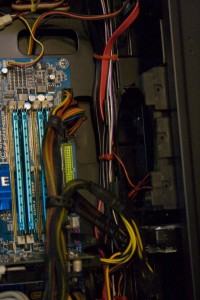
Here is the right side of the case with the side panel off. This is not the left side with clear acryllic. This just has all the cables attached, but not tied up and stowed away yet. If done properly (which I didn’t) you can hide the majority of our cables back here essentially “underneath” the motherboard. My power cables weren’t long enough, so I had to run them “over” the motherboard. Even still, it looks pretty decent.
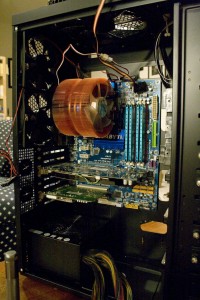
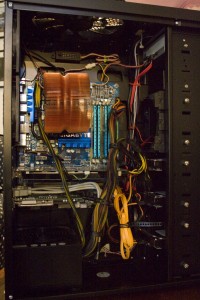
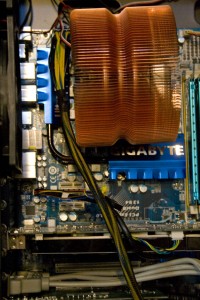
This *is* the left side, I’ve tied the cables and started to stow them away nicely and neatly. You can see the power cable for motherboard 12V *stretching* from the power supply, over the video card, past the Zalman cooler and then to the top of the motherboard. It is snug, but not straining. The most I could go is maybe another 1/2inch higher. If the CPU cooler wasn’t as large or if it was shaped differently, it might not have been so tight.
A closeup of the cabling along the right side of the motherboard and along the back “wall” (which is actually the right side of the case). There are plenty of anchors for twist ties.
A closeup of the 12V power snaking over the video card and past the CPU cooler. Did you notice all the colors?
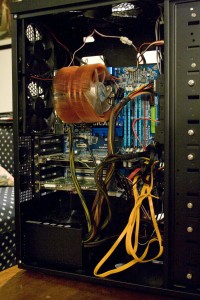
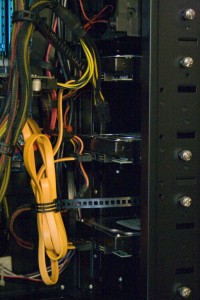
The cables get pretty messy near the hard drives. 3 drives, each with 2 cables (one data, one power) plus all the cables that run past it to other parts of the case.
All put together. I still have some tidying to do but it looks good for now.
Put together, connected to all the peripherals, and powered up.
Next up in the series is me overclocking this puppy past 4GHz :)
Final parts list:
- Intel Q9650, OC’d to 4.0GHz
- 8GBs of G.Skill RAM
- Two Western Digital WD6400AAKS drives and one Western Digital 1TB Caviar Black drive
- Nvidia 9600GT video card
- Samsung DVD-RW
- Antec Twelve Hundred case
- OCZ 600W StealthStream Power Supply
- Zalman 9700 CPU cooler
hello harvey, nice!!! man i always think of building myself a nice powerful pc but i bail out at the last moment. i’m always afraid i’ll buy the wrong parts that won’t work good together. can you guide me on how to ensure complete compatibility between motherboard and processor and ram?
Hey Perry, Don’t be scairt. Do a little research on places like newegg.com, read the reviews and see what combinations other peoplr are using. Check review sites like Tom’s Hardware, AnandTech, etc to see what they are reviewing. Also, look at forums to see what others are building. For example, the forums at AnandTech are great. Just be prepared that you will have a couple of dozen people giving you advice, just try and choose what makes sense to you from a cost/performance standpoint.
General Hardware Forum at AnandTech
http://forums.anandtech.com/categories.aspx?catid=27&forumid=1
There’s also nothing wrong with a pre-built system from Dell, HP, etc. You can find some good deals in the low to midrange performance levels.
pc looks great. good name too. I think the padres computer might still have some of the research I pulled up on the name.
all in all I give the computer about 3 months before u get bored and decide u wanna upgrade somemore, haha
I’m already eyeballing a hard drive upgrade. RAID 10 Baby!!!!!
The new i7 chip is on sale for only $199 at Microcenter, so that would be tempting if it wasn’t for the motherboards and RAM being so expensive…